Update, September 2026. This guide still describes the driver installation correctly, but on a current Raspberry Pi OS image (Debian 13 “trixie”) running MHS35-show on its own leaves you with a black panel. The screen is not faulty. See What changed on Raspberry Pi OS trixie at the end of this post for what to do instead.
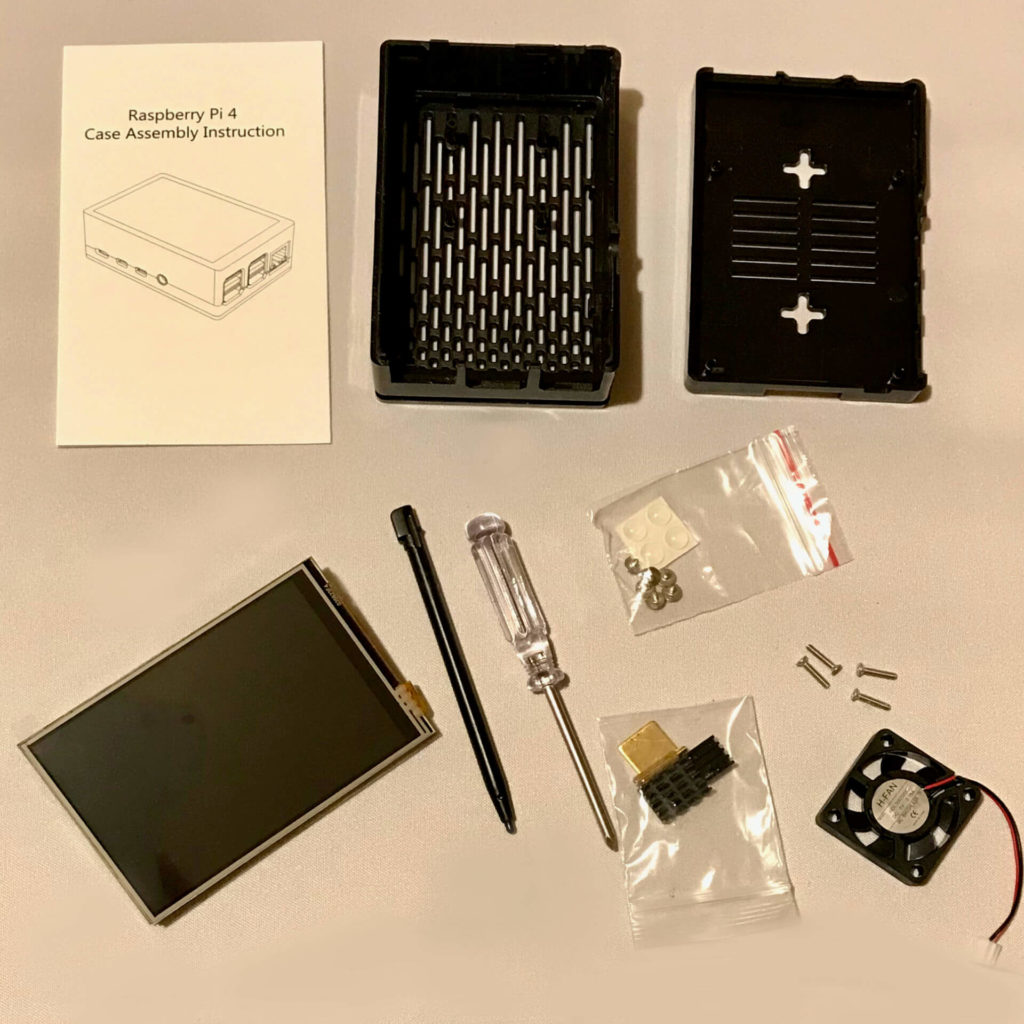
MHS35 3.5 Inch Touch Screen product Features
- Physical resolution 320 x 480, with resistive touch control
- It supports up to 125MHz SPI signal input, showing stable no screen and no flicker
- With the refresh rate of raspberry pie around 50Hz, play video to play the game without pressure
- Support FBCP software drive, support double screen display, can adjust the resolution of the software to zoom
- Same size as the Raspberry Pi, perfectly compatible and can be directly inserted into any version of the Raspberry Pi (Raspberry Pi ZeroW, A, A+, B, B+, 2B, 3B, 3B+,4B)
- Support Raspbian/Ubuntu/Kali system, provide driver and image
- This product has passed CE and RoHS certification
Main Parameters
| Name | Description |
| SKU | MHS3528 |
| Screen Size | 3.5inch |
| LCD Type | TFT |
| Module Interface | SPI (upports up to 125MHz SPI input) |
| Resolution | 320*480 (Pixel) |
| Touch Screen Controller | XPT2046 |
| LCD Driver IC | ILI9486 |
| Backlight | LED |
| power consumption | 0.16A*5V |
| Working temperature(℃) | -20~60 |
| Active Area | 48.96×73.44(mm) |
| Module PCB Size | 85.42*55.60 (mm) |
| Package Size | 136x98x41 (mm) |
| Product Weight(Package containing)(g) | 92 (g) |
Hardware Description
| 1, 17 | 3.3V | Power positive (3.3V power input) |
| 2, 4 | 5V | Power positive (5V power input) |
| 3, 5, 7, 8, 10, 12, 13, 15, 16 | NC | NC |
| 6, 9, 14, 20, 25 | GND | Power ground |
| 11 | TP_IRQ | The touch panel is interrupted, and it is detected that the touch panel is pressed low |
| 18 | LCD_RS | Instruction/data register selection, low level is instruction, high level is data |
| 19 | LCD_SI / TP_SI | LCD display / touch panel SPI data input |
| 21 | TP_SO | Touch panel SPI data output |
| 22 | RST | Reset signal, low reset |
| 23 | LCD_SCK / TP_SCK | LCD display / touch panel SPI clock signal |
| 24 | LCD_CS | LCD chip select signal, low level enable |
| 26 | TP_CS | Touch panel chip select signal, low level enable |
. Install on the Raspbian system (the Raspberry Pi needs to connect to the Internet)
Log in to the Raspberry Pi terminal(SSH remote login user name and password, see the image download of the Download Resources) (Q:The ssh can’t connect?)
Execute the following command to get the LCD driver and install it (after copying, click the right mouse button in the Putty window to paste):
sudo rm -rf LCD-show
git clone https://github.com/goodtft/LCD-show.git
chmod -R 755 LCD-show
cd LCD-show/
sudo ./MHS35-show
How to install the 3,5 inch touch screen for Raspberry Pi in the Raspberry/Ubuntu Mate/Kali/Retropie system
Download the local driver, the download link is as follows: (Because of system differences, the driver downloaded from github cannot run normallyin the three systems Ubuntu Mate, Kali, Retropie, so only local drivers can be used)
Driver download for Ubuntu-mate-18.04 system:LCD-show.tar.gz
Driver download for Kali-linux system:LCD-show.tar.gz
Driver download for the retropie-rpi2_rpi3-rpi4 system:LCD-show.tar.gz
Driver download for retropie-rpi1_zero system:LCD-show.tar.gz(2)
Log in to the Raspberry Pi terminal(SSH remote login user name and password, see the image download of the Download Resources)
Copy the local driver to the running Raspberry Pi system and execute the following command to extract it (can be copied by SD card or FileZilla software)
tar -xvzf LCD-show.tar.gz
(4) Execute the following command to install the LCD driver
chmod -R 755 LCD-show
cd LCD-show/
sudo ./MHS35-show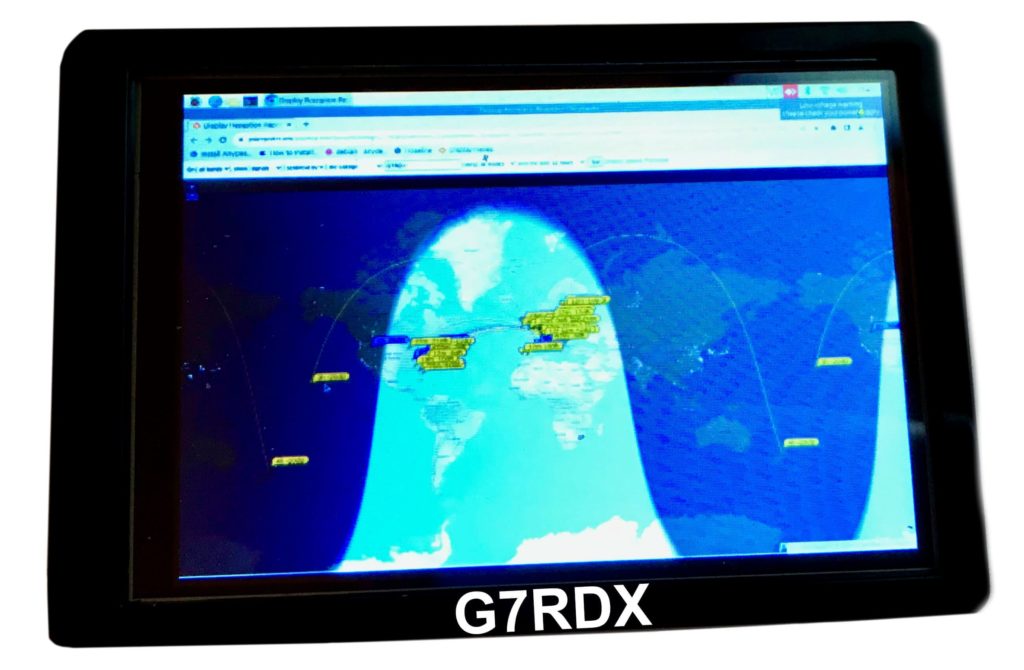
Step 4, Check if the driver is successfully installed(1) After the LCD driver is installed, the system will automatically restart. After the startup is successful, the LCD can display and touch normally,indicating that the driver installation is successful.
Note:A. Ubuntu system default SSH is not enabled, the specific method of opening seeRaspberryPi Ubuntu-mate open ssh instructionsB. Ubuntu-18.04 system ssh connection may fail, the specific solution is shown in RaspberryPi Ubuntu-mate-18.04 ssh connection failure solution descriptionC. The retropie-rpi1_zero system cannot log in via SSH (no network port and wifi module). You need to copy the driver through the serial port. For details, see RaspberryPi Zero open serial instructionsD. Retropie system game installation and setup instructions see RaspberryPi Retropie using instructions
How to rotate the display direction
This method only applies to the Raspberry Pi series of display screens, other display screens do not apply.
- Method 1,If the driver is not installed, execute the following command (Raspberry Pi needs to connected to the Internet):
sudo rm -rf LCD-show
git clone https://github.com/goodtft/LCD-show.git
chmod -R 755 LCD-show
cd LCD-show/
sudo ./XXX-show 180
After execution, the driver will be installed. The system will automatically restart, and the display screen will rotate 90 degrees to display and touch normally.
( ‘ XXX-show ‘ can be changed to the corresponding driver, and ‘ 90 ‘ can be changed to 0, 90, 180 and 270, respectively representing rotation angles of 0 degrees, 90 degrees, 180 degrees, 270 degrees)
- Method 2,If the driver is already installed, execute the following command:
cd LCD-show/
sudo ./rotate.sh 180
After execution, the system will automatically restart, and the display screen will rotate 90 degrees to display and touch normally.
( ‘ 90 ‘ can be changed to 0, 90, 180 and 270, respectively representing rotation angles of 0 degrees, 90 degrees, 180 degrees, 270 degrees)
If the rotate.sh prompt cannot be found, use Method 1 to install the latest drivers
What changed on Raspberry Pi OS trixie
I fitted one of these panels to a Pi 4 in September 2026, on the 2026-06-18 Raspberry Pi OS image, and ran the script exactly as described above. The driver loaded, the SPI bus came up and the XPT2046 touch controller was detected on the first boot. The panel stayed black anyway. Nothing was broken: the part of the old setup that actually puts a picture on the screen no longer exists.
Here is what a check on the running Pi showed, and how to get the display working again on a current system.
The boot files have moved
Everything now lives in /boot/firmware. On my install /boot/config.txt is a symlink, so editing it still works, but /boot/cmdline.txt is a plain file containing nothing but a notice:
DO NOT EDIT THIS FILE
The file you are looking for has moved to /boot/firmware/cmdline.txt
Edit the wrong one and nothing happens, silently.
fbcp no longer exists
This is the important one. The classic setup drew the desktop on the HDMI framebuffer and used the small fbcp daemon to copy it onto the panel. On trixie there is no package that provides it, and libraspberrypi-bin has gone too, taking tvservice with it.
apt-cache policy fbcp rpi-fbcp libraspberrypi-binAll three come back with no candidate. So the panel driver paints nothing, because nothing is feeding it.
The script turns KMS off, and the rest follows
MHS35-show rewrites config.txt, dropping dtoverlay=vc4-kms-v3d and adding disable_fw_kms_setup=1. The result is a system with no DRM at all:
kmsprint
terminate called ... what(): failed to find DRM cards
Without DRM the X server cannot use the modesetting driver, so it falls back to fbdev and you are back on the old firmware framebuffers. Every oddity below comes from this one change.
The panel is fb2, not fb1
The old guides assume the panel is /dev/fb1. With max_framebuffers=2 plus the overlay, what you actually get is the table below. Check yours with cat /sys/class/graphics/fb*/name and the matching virtual_size.
| Device | Name | Holds | Size | Bits |
|---|---|---|---|---|
| fb0 | BCM2708 FB | the text console | 480×320 | 32 |
| fb1 | BCM2708 FB | the X desktop | 1920×1280 | 32 |
| fb2 | fb_ili9486 | the MHS35 panel | 480×320 | 16 |
There is a second surprise in there. The X server opens the “default device” and lands on the 1920×1280 framebuffer, not on the 480×320 one the script set up. You can see it in ~/.local/share/xorg/Xorg.0.log:
(II) FBDEV(0): using default device
(II) FBDEV(0): hardware: BCM2708 FB (video memory: 9600kB)
9600 kB is 1920 x 1280 x 4 bytes, which confirms which framebuffer it took.
Check that the panel itself is alive
Before changing anything, prove the hardware works. Your user is in the video group, so this needs no root. 307200 is 480 x 320 x 2 bytes, one frame at 16 bits per pixel.
dd if=/dev/urandom of=/dev/fb2 bs=307200 count=1
head -c 307200 /dev/zero | tr '\000' '\377' > /dev/fb2
head -c 307200 /dev/zero > /dev/fb2
You should see noise, then white, then black. If you do, the panel, the SPI wiring and the driver are all fine, and the problem is purely about which framebuffer the desktop is using.
The fix: put X on the panel
Since the mirroring daemon has gone, the simplest approach on trixie is to stop mirroring altogether and let the X server draw straight onto the panel. One file does it:
sudo tee /etc/X11/xorg.conf.d/99-mhs35.conf > /dev/null <<'EOF'
Section "Device"
    Identifier "MHS35"
    Driver     "fbdev"
    Option     "fbdev" "/dev/fb2"
EndSection
EOF
sudo reboot
Check first that xserver-xorg-video-fbdev is installed, and that nothing else in /etc/X11/xorg.conf.d/ already declares a Device section. After the reboot the desktop runs at the panel native 480×320, the touch calibration the script left behind lines up with what you see, and HDMI shows the console. To undo it, delete that file and reboot. SSH keeps working either way, so you are never locked out.
If you would rather keep the desktop on HDMI and have the panel mirror it, you now have to supply your own copier in place of fbcp, converting 32 bit pixels to RGB565 and scaling to fit. I wrote a small one in Python using numpy and mmap for my own Pi. Ask in the comments if that would be useful and I will publish it.
Rotation on trixie
The rotate.sh script still works, but if you prefer to change it by hand, the rotation lives in the overlay line in /boot/firmware/config.txt:
sudo sed -i 's/rotate=90/rotate=270/' /boot/firmware/config.txtWhatever you do here, remember to invert the touch calibration to match, otherwise you press top left and the pointer lands bottom right. In /etc/X11/xorg.conf.d/99-calibration.conf, swap the pairs so that Calibration "3936 227 268 3880" becomes Calibration "227 3936 3880 268".
Command changes at a glance
| For | Old way | On trixie |
|---|---|---|
| Boot files | /boot/config.txt | /boot/firmware/ |
| Copy the desktop to the panel | fbcp | gone, run X on the panel instead |
| Video output status | tvservice -s | kmsprint, vcgencmd, fbset -fb /dev/fbN |
| List framebuffers | not needed | cat /sys/class/graphics/fb*/name |
| VNC server | RealVNC via raspi-config | x11vnc for X11, wayvnc for Wayland |
None of this makes the MHS35 a bad buy. The hardware is the same as it always was, and once the desktop is pointed at the right framebuffer it behaves exactly as this guide describes. It is the software around it that moved on.
If you are setting a Pi up from scratch alongside this, the rest of my Linux notes cover the ground either side of it, including a step by step Debian install and a list of Raspberry Pi keyboard shortcuts that saves a lot of time on a machine with a tiny screen.
Have you fitted one of these panels on trixie? Tell me in the comments how you got on.
73 de G7RDX